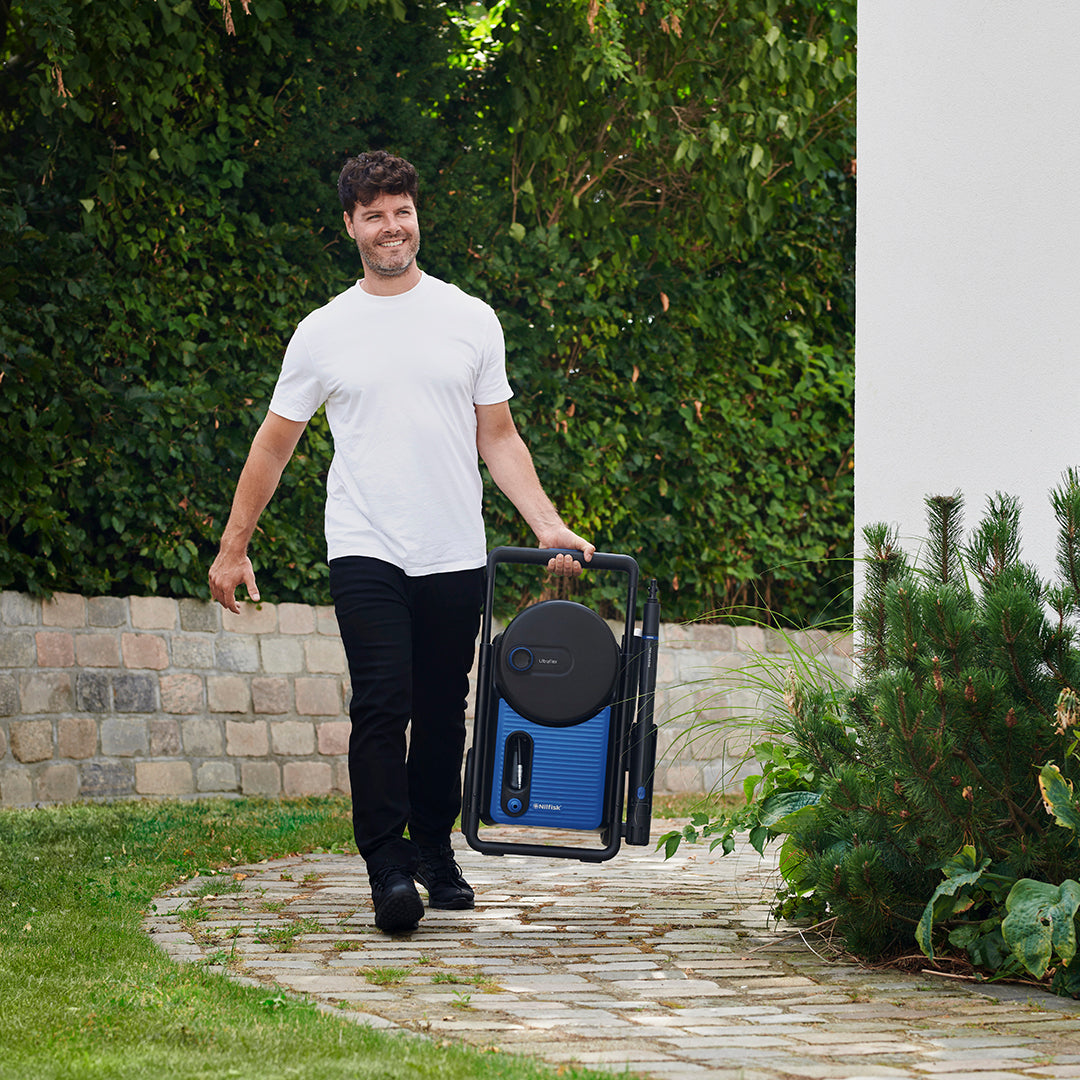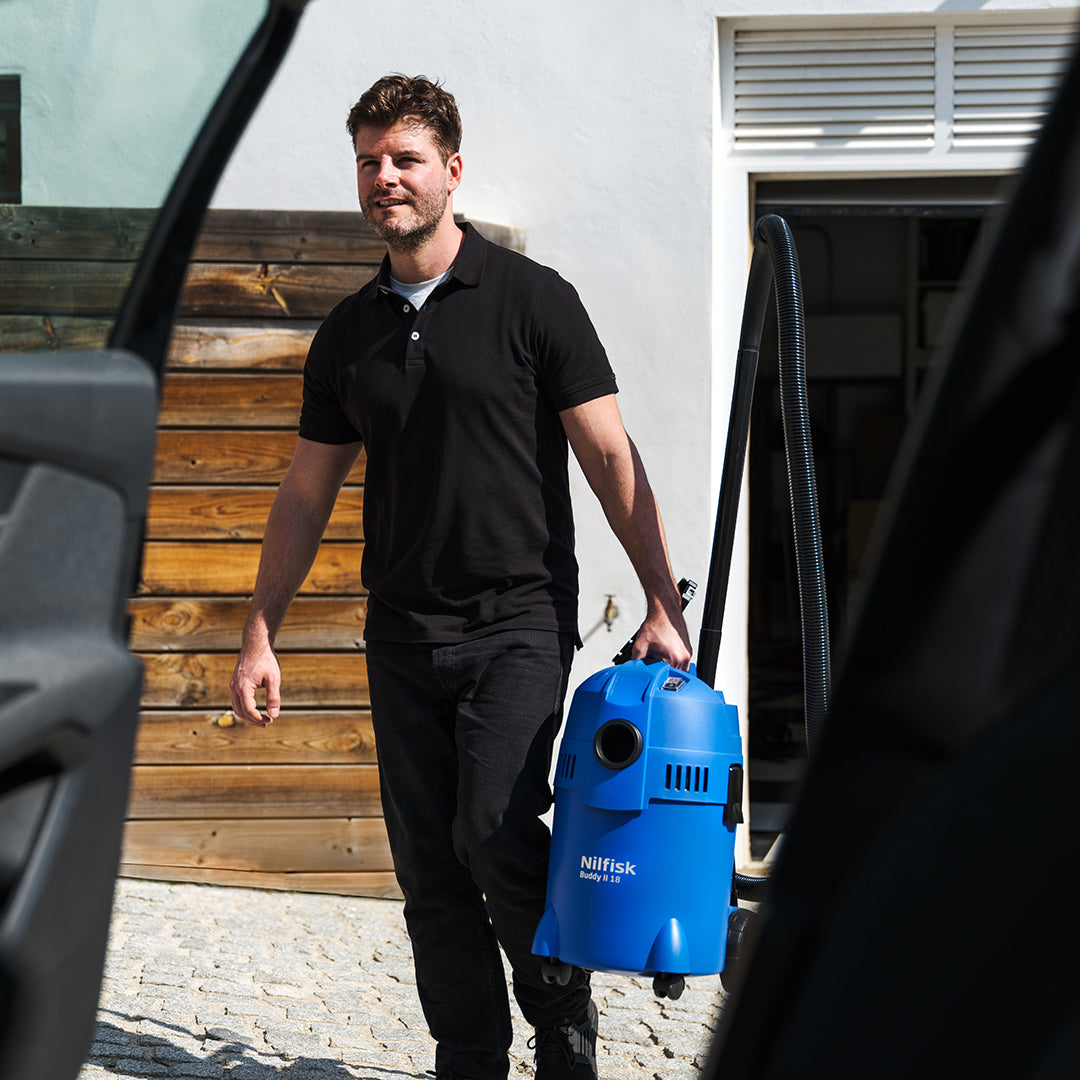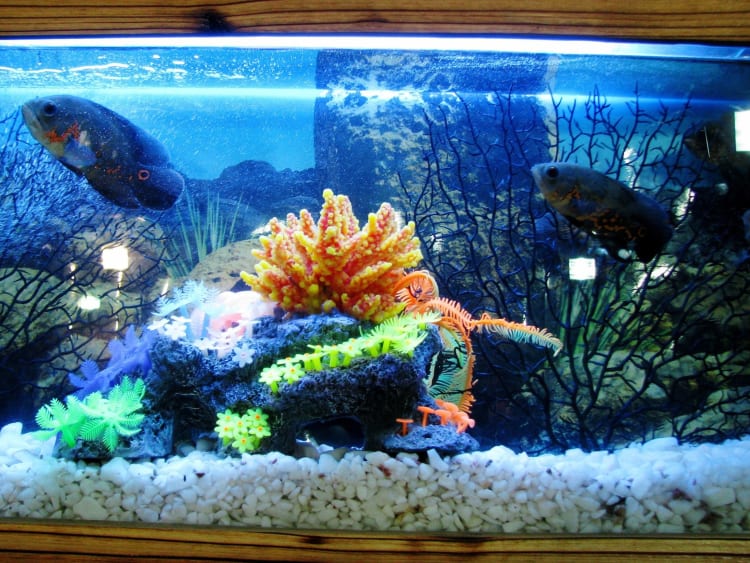
Emptying a fish tank doesn’t have to mean buckets, spills, or endless trips to the sink. If you own a Nilfisk wet and dry vacuum cleaner, you already have the perfect tool to make the job faster, cleaner, and hassle-free. These versatile vacuums are designed to handle both dry debris and liquids — making them ideal for removing water from an aquarium without the mess.
Here’s a step-by-step guide on how to clean a fish tank safely and efficiently:
🐟 Step 1: Remove the Fish
Before starting, carefully transfer your fish to a temporary tank or bucket filled with tank water. Be sure to include any heaters, filters, or aerators they’ll need to stay safe during the process.
🧼 Step 2: Unplug and Remove Equipment
Disconnect electrical equipment like filters, lights, and heaters. Remove decorations, rocks, and plants you want to clean separately.
💧 Step 3: Prepare Your Nilfisk Wet & Dry Vacuum
Make sure your Nilfisk vacuum is ready -empty out any debris from the container and remove the dust bag. Remove the floor nozzle as you will use the hose for water suction, and position the vacuum unit close to the tank.
🚿 Step 4: Start Vacuuming the Water
Place the suction hose into the tank and power on the vacuum. The Nilfisk’s strong suction will quickly draw out water and contain it neatly in the vacuum's tank — no spills, no heavy lifting. For larger aquariums, periodically empty the vacuum if it fills up before the tank is fully drained.
🧽 Step 5: Clean the Tank Interior
Once most of the water is removed, use the vacuum to pick up leftover debris, gravel waste, or algae. This is a good time to wipe down the glass and rinse any decorative items you removed.
✅ Done!
With a Nilfisk wet & dry vacuum, emptying your fish tank is quick, tidy, and easy. No more struggling with siphons or messy spills — just efficient cleaning with a tool you can trust.
Ready to simplify your aquarium maintenance? Explore Nilfisk’s range of wet & dry vacuums and transform how you clean your home — and your tank.