News
News

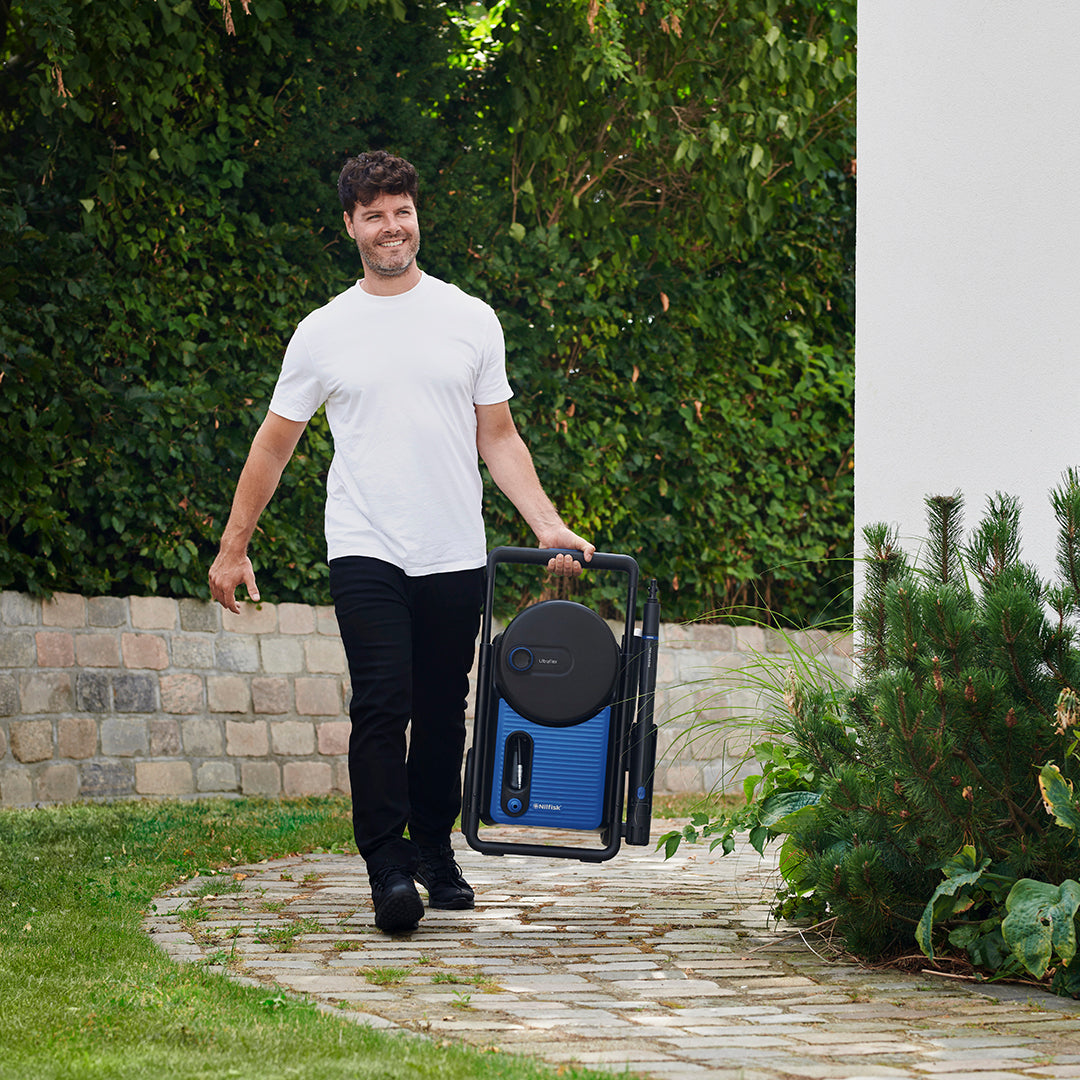
How to Clean Windows with a Pressure Washer
Did you know, if used correctly, pressure washers are safe to use on windows? Using a pressure washer to clean windows (frame and glass) can rejuvenate the appearance of your home, giving your windows a sparkling clean finish. It also means you don't need to pay a window cleaner and you can clean at your own accord. However, it's essential to do it correctly to avoid damage. Here’s a comprehensive guide to help you pressure wash your windows safely and effectively. 1. Gather Your Cleaning Equipment Before starting, make sure you have all the necessary tools and materials: Power washer with a suitable gentle nozzle Extension pole (if cleaning multi story houses) Window cleaning solution or a mild detergent Soft brush accessory for pressure washer Safety goggles and gloves Ladder (if required) 2. Prepare the Area Clear the area around your windows of any obstacles, such as outdoor furniture, potted plants, or decorative items. Close all windows tightly to prevent water from seeping inside your home. If possible, cover outdoor electrical outlets and fixtures near the windows to avoid any water damage. 3. Use a Pressure Washer Brush In order to ensure no damage is done to your windows, we recommend to use a pressure washer brush on the end of your lance or extension pole. This will also help you scrub off ingrained dirt easily. 4. Choose the Right Nozzle and Pressure Setting Selecting the appropriate nozzle and pressure setting is crucial. For windows, use a gentle nozzle to reduce the risk of damage. Start with the lowest pressure setting, and adjust the pressure if necessary. Always test the pressure on a small area first. 5. Apply Detergent with your pressure washer Fill the pressure washer’s detergent tank with a window cleaning solution such as a mild detergent. Use the foam sprayer (included with all Nilfisk machines) or the super foam sprayer to easily apply the cleaning solution. Alternatively, you can apply the solution manually with a spray bottle. Let the solution sit for a few minutes to loosen dirt and grime, but don’t let it fully dry on the glass. 6. Pressure Wash Windows Begin to power wash one window at a time from a safe distance, about a metre away. Hold the pressure washer lance at a 45-degree angle and spray in a sweeping motion, start at the top of the window and work your way down. This technique helps prevent streaks and ensures that dirt and detergent are rinsed away effectively. 7. Cleaning Multi Story Windows with a Pressure Washer If you are cleaning a house with a second-story, start with the windows at the top and work your way down. This avoids dirt dripping onto the lower windows after being cleaned. If you have one, use the extension wand to make it easier to reach high windows. 8. Clean Window Frames and Shutters Don’t forget to clean the window frames and shutters. You can use the same pressure washer settings, but ensure to start low and increase the pressure if needed. 9. Spray Thoroughly After washing the windows, ensure all detergent is rinsed thoroughly with the high pressure washer. Again, start from the top and work your way down to ensure all areas are covered. 10. Dry and Inspect Once rinsed, use a soft brush or microfiber cloth to dry the windows and remove any remaining water spots. Inspect the windows for any missed spots or streaks and touch up as necessary. Safety Tips Wear protective gear: Safety goggles and gloves protect you from debris and detergent splashes. Use a stable ladder: If you need to reach high windows, ensure your ladder is stable and positioned on a level surface. Be cautious with pressure: Excessive pressure can damage window seals, glass, and frames. Always start with the lowest effective pressure setting. Check weather conditions: Avoid pressure washing on windy days to prevent water and detergent from being blown into unwanted areas. Single pane glass: Be extra careful with single pane glass - start even further away (2 metres). Safety glass: Never clean safety glass with a pressure washer. Pressure washing your windows can be a highly effective way to achieve a spotless, gleaming finish. By following these steps and taking necessary precautions, you can enjoy crystal-clear windows that enhance the overall look of your home. Remember to be patient, take your time, and prioritize safety throughout the process.

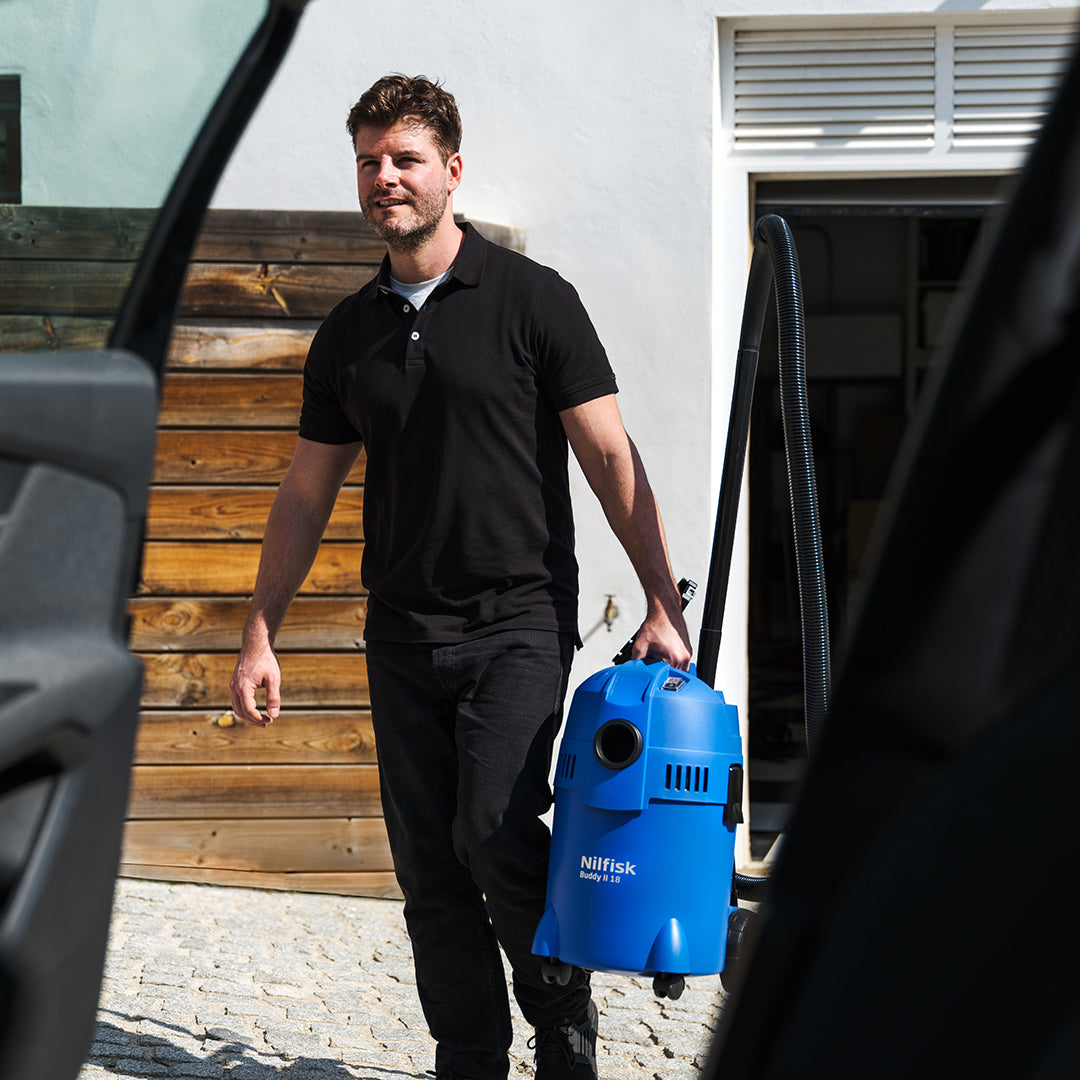
What is a Wet and Dry Vacuum Cleaner and Why You Might Need One
Wet and dry vacuum cleaners are powerful machines designed to handle both dry debris like dust and dirt, as well as liquid spills or wet messes. This dual-functionality makes it a valuable tool in various settings, from households to workshops, garages, and even outdoor spaces. Versatility and Functionality Unlike ordinary vacuum cleaners that are typically designed solely for dry vacuuming, a wet and dry vacuum cleaner is equipped with specialized features that allow it to efficiently suck up liquids without damaging the machine. This capability is particularly useful in situations where spills or leaks occur, such as kitchen accidents, plumbing mishaps, or cleaning up after pets. Ideal for Various Surfaces and Environments One of the primary advantages is its ability to clean multiple surfaces effectively. Whether you're vacuuming carpets, hard floors, tiles, or concrete, these vacuums can seamlessly transition between different floor types without compromising suction power. This adaptability makes them indispensable in households with diverse flooring types or in workshops where cleaning up after DIY projects involves both dust and spilled materials. Power and Efficiency Equipped with robust motors and durable construction, wet and dry vacuum cleaners are designed to handle heavy-duty cleaning tasks. They offer powerful suction capabilities that ensure thorough cleaning, whether it's picking up fine dust particles, debris from renovation projects, or large liquid spills. The efficiency of these machines reduces cleaning time and enhances overall cleanliness in the environment. Blower function As well as a suction function, Nilfisk vacuums come with a blow function, so you can easily blow leaves, pet hair and other dirt and debris away. Making your life a lot easier. Why You Might Need a Wet and Dry Vacuum Cleaner Household Cleaning Perfect for households with pets or active lifestyles, where accidents and spills are common. They can swiftly clean up liquid messes without causing damage to the vacuum. Workshops and Garages Essential for DIY enthusiasts working in workshops where dust, sawdust, and occasional spills need immediate clean-up. Use a Wet and Dry on Fireplaces Ideal for cleaning up ash and dust from your fireplace, no more messy sweeping or fiddling around with binbags. Stubborn messes Whether you need to unclog the sink, or vacuum up shards of broken glass, these heavy duty vacuums can tackle any dirt and liquid. Conclusion Investing in a one of these machines is not just about convenience but also about efficiency and versatility. Whether you're tackling everyday cleaning tasks at home, managing a workshop, these vacuums prove to be indispensable tools. Their ability to handle both dry and wet messes makes them a valuable addition to any cleaning arsenal, ensuring a cleaner and healthier environment with minimal effort. For superior cleaning performance and versatility, explore our wet and dry vacuum cleaner range designed to meet diverse cleaning needs effectively.

How to Clean a Horse Stable with a Pressure Washer
Keeping a horse stable clean is essential for maintaining the health and well-being of your horses. A dirty stable can be a breeding ground for harmful bacteria and pests, making it uncomfortable and unsafe for your animals. Using a pressure washer can make this task significantly easier and more efficient. We recommend doing this at least once a year but preferable every 3-6 months. Step-by-Step Guide to Cleaning and Disinfecting Horse Stables 1. Stable Preparation Before you begin, make sure you are wearing appropriate clothing and get together your cleaning equipment. Remove all horses and feed from the entire horse stable with a wheelbarrow. Muck out the stable with a broom and rake up loose hay, straw, and debris. Also ensure there is proper drainage for the water to flow down from the jet washer. 2. Choose the Right Pressure Washer Settings Select a jet washer model suitable to clean a stable. We recommend a medium to high pressure setting. Ensure you use the appropriate nozzle; a gentle nozzle is typically recommended for general cleaning, while a rough is better for stubborn stains. 3. Apply Detergent to Clean and Disinfect the Horse Stable Using detergent specifically designed for animal enclosures can help break down grime and disinfect the horse stable easily. Nilfisk jet washers often come with a detergent tank, making it easy to apply cleaning solutions evenly. Apply the detergent all over the horse stalls working your way up to avoid streaks. 4. Pressure Wash the Surfaces, Stable Mats and Bedding Start pressure washing the walls, ensuring you cover all areas, including corners and crevices where dirt and bacteria can accumulate. Move in a systematic pattern, overlapping slightly to ensure thorough cleaning. Next, focus on the horse mats and floors. The high-pressure water will help lift and remove built-up grime and waste. 5. Rinse Thoroughly After cleaning with detergent, switch to a clean water setting and rinse all surfaces thoroughly. Ensure no detergent residue remains, as it can be harmful to horses. 6. Dry the Clean Horse Stable Leave the stable open and allow to dry completely before reintroducing horses and new bedding. Proper ventilation and sunny weather can speed up this process. Benefits of Using a Pressure Washer Efficiency: Cuts down cleaning time significantly. Less water use: pressure washers use less water than a standard hosepipe. Effectiveness: Removes stubborn dirt and bacteria, promoting a healthier environment for your horses. Why Choose Nilfisk? Maintaining a clean stable is vital for the health of your horses. Nilfisk jet washers are renowned for their durability, efficiency, and powerful performance. Designed to handle tough cleaning tasks, they are perfect for the rigorous demands of stable cleaning. With various models tailored to different needs, Nilfisk ensures that you get the best results every time.

Expert Cleaning Tips: How to Pressure Wash Your Boat
Prepare to pressure wash your boat Using the Right Pressure One of the most critical factors when pressure washing your boat is using the right water pressure. Too much pressure can harm delicate surfaces like fiberglass or gel coat, while too little pressure may not effectively clean stubborn stains. It's recommended to use a pressure washer with a bar rating between 120-200, and to start with the lowest pressure setting and gradually increase if needed. Use a Detergent Cleaner Selecting the appropriate cleaning substance is also essential for effective boat washing. Use a detergent specifically made for boats such as the boat cleaner - this is formulated to remove salt, algae, and other marine contaminants without harming the boat's finish. Avoid using harsh chemicals or household cleaners, as they can impair the gelcoat or paint. Precautions for Gelcoat Protection Gelcoat is a protective layer on the exterior of fiberglass boats, and it's essential to take precautions to protect it during pressure washing. Avoid using abrasive brushes or scrubbers that can scratch the gelcoat, and be mindful of the pressure washer nozzle's distance from the boat, we recommend 1 metre. Additionally, consider applying a coat of wax or polish after washing to provide extra protection and shine. Inspect for Damage and Remove Loose Equipment Before power washing your boat, inspect it for any signs of damage, such as cracks, chips, or loose fittings. Also ensure you take out any seat cushions, canopies or other removable equipment before getting started. Step by Step: How to Clean the Boat 1. Scrubbing and Brushing with a Pressure Washer Start by scrubbing the dirt off your boat, use soft-bristled scrub brush or sponge attachments to avoid scratching the surface. Work in small sections, applying pressure gently and using overlapping strokes to ensure thorough cleaning. Pay extra attention to areas with heavy build-up, such as the hull or waterline. 2. Apply Detergent If using detergent, dilute it according to the manufacturer's instructions and apply the foam evenly with a Foam Sprayer to the edge of the boat. Let it work for a few minutes to loosen dirt and grime before rinsing. Avoid letting the detergent dry on the surface, as it can leave residue or streaks. 3. Rinse your boat to Remove Detergent After scrubbing and applying detergent, rinse your boat thoroughly with clean water to remove any remaining dirt or cleaning solution. Start from the top and work your way down, ensuring that all surfaces are thoroughly rinsed. Pay special attention to hard-to-reach areas, such as under the hull or around fittings and fixtures. 4. Let it Dry -Consider Waxing Your Boat's Hull After washing and drying, consider applying a coat of marine wax or polish to protect the boat's hull and provide a glossy finish. Waxing helps seal the surface, making it easier to clean in the future and protecting against UV damage and saltwater corrosion. Advanced Tips for Power Washing A Boat Using High-Pressure Nozzles and Sprays Effectively Experiment with different nozzle types and spray patterns to find the most effective combination to high-pressure wash your boat. Narrow spray patterns provide more concentrated cleaning power for stubborn stains, while wider patterns cover larger areas more quickly. Preventing Damage to Sensitive Boat Components Be mindful of sensitive components like outboard motors, propellers, bearings and electrics when pressure washing your boat. Use lower pressure settings and keep the nozzle at a safe distance of 1 metre to avoid causing damage. By following these expert tips and techniques, you can power wash a boat effectively and safely, keeping it clean, well-maintained, and ready for your next adventure on the water. Remember to use the right pressure, choose the correct cleaner, and take precautions to protect delicate surfaces and components. With proper upkeep and maintenance, your boat will continue to provide enjoyment for years to come.

How Much Water Does a Pressure Washer Use?
When it comes to cleaning outdoor surfaces like driveways, decks, and patios, many of us reach for the familiar garden hose. However, there's a more efficient and eco-friendly option available: the pressure washer. Not only does it offer superior cleaning power, but it also uses significantly less water than traditional hose pipe methods. How, may you ask? Firstly, it's essential to understand the mechanics of both tools. A garden hose typically delivers water at a steady flow rate, which, while sufficient for basic cleaning, often requires prolonged spraying to achieve satisfactory results. This can lead to excessive water usage, with much of it going to waste as runoff. In contrast, a pressure washer operates by pumping water at a high pressure through a narrow nozzle, producing a concentrated stream. This focused jet of water is incredibly effective at removing dirt, grime, and debris from surfaces with minimal effort. Because of the high pressure, less water is needed to get the same cleanliness as a hose pipe. So, how much water does a pressure washer actually use? Studies have shown that pressure washers can use up to 75% less water than conventional hose pipe methods. This significant reduction in water consumption not only saves a valuable resource but also translates to tangible benefits for both homeowners and the environment. One reason for the water savings is the efficiency of the pressure washer's design. The high-pressure stream allows for targeted cleaning, meaning less water is wasted on areas that don't require attention. Additionally, the force of the water jet helps dislodge dirt and grime more effectively, reducing the need for prolonged rinsing. Track your water consumption The Excellent 180 pressure washer comes with a touch display ‘Smart Assistant’ which tracks water usage in real time. The Smart Assistant also guides you through cleaning tasks and send notifications when maintenance checks are needed. This is great for keeping your pressure washer in tip top condition for many years. Furthermore, pressure washers offer versatility in cleaning tasks, thanks to various nozzle attachments and adjustable pressure settings. Whether you're tackling tough stains on concrete or gently washing delicate outdoor furniture or vehicles, a pressure washer can be tailored to suit your needs, all while conserving water. In conclusion, the use of a pressure washer represents a significant step towards sustainable cleaning practices. By harnessing the power of high pressure washers, homeowners can achieve superior results with a fraction of the water usage compared to traditional hose pipe methods. So, the next time you're faced with a dirty driveway or patio, consider reaching for a pressure washer – not only will you save water, but you'll also enjoy cleaner, more efficient cleaning.

The Purr-fect Solution: Cleaning Your Pet with a Vacuum Cleaner
As pet owners, we cherish the joy and companionship our furry friends bring into our lives. However, it's no secret that our beloved pets can leave behind a trail of fur and dander, making cleaning a constant challenge. In this post, we'll explore a unique and effective method for keeping your pets clean – using a vacuum cleaner. Why use a vacuum cleaner? Vacuum cleaners are not just for carpets and floors; they can be an invaluable tool in maintaining your pet's hygiene. Many modern vacuum cleaners come equipped with attachments and features specifically designed for pet owners, making the process quick, efficient, and stress-free for both you and your furry friend. Preparation is Key Before you embark on this cleaning journey, ensure that your pet is comfortable with the vacuum cleaner. Allow them to get used to the sound and presence of the device by turning it on in their vicinity without any direct contact. Positive reinforcement, treats, and gentle strokes will help create a positive association, making the cleaning process smoother. Choosing the Right Vacuum Most vacuum cleaners designed for pet owners include specialized attachments for grooming. Look for a grooming tool or a pet brush attachment as well as a flexible hose to prevent any discomfort or harm to your pet's skin. These attachments are designed to capture loose fur efficiently while grooming your pet. Start Slowly Begin the grooming process by using the vacuum cleaner on a low setting, allowing your pet to acclimate to the sensation. Use slow, gentle strokes to mimic the feel of a gentle massage. Gradually increase the intensity if your pet appears comfortable, always monitoring their reaction to ensure a positive experience. Focus on Problem Areas Identify the areas where your pet sheds the most and concentrate on those spots. Common areas include the back, neck, and tail. Be extra cautious around sensitive areas, such as the ears, paws, and belly, using a lighter touch to avoid any discomfort. Post-Grooming Rewards Once the grooming session is complete, reward your pet with treats, praise, and affection. This positive reinforcement will strengthen the bond between you and your pet, making future grooming sessions more enjoyable for both parties. Incorporating your vacuum cleaner into your pet grooming routine can be a game-changer in maintaining a clean and healthy living environment for both you and your furry friend. By following these steps and making the experience positive, you'll not only keep your pet looking their best but also create a stress-free grooming ritual that strengthens your bond. So, grab your vacuum cleaner, and let the cleaning adventure begin!
EU Prompt Report Reveals Surprising Insights into Vacuum Cleaner Longevity
In May 2021, the European Union released its eagerly awaited PRemature Obsolescence Multi-Stakeholder Product Testing Programme (EU PRoMPT) report, focusing on vacuum cleaners across five countries: Belgium, France, Italy, Portugal, and Spain. The comprehensive survey, conducted between June 2019 and June 2020, targeted members of various consumer organizations in these nations, utilizing random sampling methods and online questionnaires. The report shed light on consumer perspectives regarding the anticipated lifespan of their vacuum cleaners and their actual experiences with previous devices. One notable finding was that 43% of respondents expected their current vacuum cleaner to last more than 10 years, while 40% anticipated using their device for more than a decade. The real highlight of the report was the analysis of the average lifecycle of vacuum cleaners among different brands. Nilfisk emerged as a surprising leader, boasting an impressive average product lifespan of 12.1 years. This positioned Nilfisk as the brand with the third-highest ranking among all surveyed brands, surpassing many well-known competitors. These results challenge common perceptions about brand longevity and reliability in the vacuum cleaner market, showcasing that lesser-known brands like Nilfisk can outperform established players. The report not only provides valuable insights into consumer expectations but also highlights the importance of considering lesser-known brands with exceptional product durability. As consumers become more conscious of sustainability, the EU PRoMPT report encourages them to make informed choices that align with their desire for long-lasting and reliable household appliances. Download full report

Breathe Easy: Tips for Keeping the Air in Your Home Clean
In the hustle and bustle of daily life, the air quality in our homes often goes unnoticed. However, maintaining clean indoor air is crucial for our well-being. From reducing allergens to creating a fresh living space, here are some simple yet effective tips to ensure that the air in your home remains clean and healthy. Regular Ventilation: The simplest way to improve indoor air quality is to let fresh air in. Open windows and doors for at least 1 hour per day to facilitate cross-ventilation. This helps in reducing indoor pollutants and circulating stagnant air out of your living spaces. It also helps to control humidity levels and reduce the risk of mould in your home. Keep Your Living Space Clean: Regular cleaning is paramount to keeping indoor air clean. Dust surfaces, vacuum carpets, and mop floors regularly to prevent the accumulation of dust, pet dander, and other allergens. Pay special attention to areas prone to dust build-up, such as shelves, blinds, and radiators. Invest in Indoor Plants: Plants act as natural air purifiers by absorbing pollutants and releasing oxygen. Spider plants, snake plants, and peace lilies are especially known for their air-purifying qualities. Place a few indoor plants strategically around your home to enhance both air quality and aesthetics. Regularly Replace Filters: Heating, ventilation, and even vacuum cleaners play a crucial role in air circulation. Ensure that you regularly replace the filters in these systems to prevent the build-up of dust and allergens. Adopt a regular cleaning routine: Ensure you dust and vacuum regularly to remove excess allergens from settling around in your home. Choose a vacuum with a HEPA filter which will stop up to 99.99% of airborne particles being pushed back into your home when cleaning. By incorporating these practices into your routine, you can create a living space with clean, fresh air. From embracing the beauty of indoor plants to maintaining a consistent cleaning schedule, these tips empower you to take control of your home's air quality and, in turn, your overall well-being. So, breathe easy and make a commitment to a healthier, cleaner home environment today.

10 Refreshingly Clean New Year's Resolutions for Your Home
Ah, the New Year, a time for fresh starts, new beginnings, and well-intentioned resolutions! While many of us focus on personal goals, why not extend the spirit of renewal to our humble abodes? Say hello to a cleaner, fresher home in the coming year with these 10 resolutions that promise to revitalize your living space. 1. Decluttering DelightKick-off the year by bidding farewell to clutter! Dedicate a weekend to decluttering your space and keeping items that truly spark joy. Remember, a tidy space is a happy space! 2. Daily Tidying TriumphsPledge to spend a few minutes each day tidying up. A quick sweep, putting away dishes, and fluffing up those cushions can work wonders in maintaining a consistently clean home. 3. Marvelous MinimalismResolve to embrace minimalism in your décor. Streamline your belongings and adopt a minimalist aesthetic that not only looks chic but also makes cleaning a breeze. 4. Sensational Storage Solutions:Invest in smart storage solutions. Whether it's stylish baskets, shelving units, or under-bed organizers, maximizing storage space helps keep your home clutter-free. 5. Sparkling SurfacesMake it a goal to wipe down surfaces regularly. From countertops to tabletops, a little daily wipe-down will keep dust and grime at bay, leaving your home looking sparkling clean. 6. Fresh FabricsCommit to refreshing your linens and fabrics regularly. Launder curtains, bed linens, and throw pillow covers to give your home a fresh and inviting vibe. 7. Terrifically Tidy TechDon't forget about your gadgets! Dust and wipe down your electronics regularly to keep them in top-notch condition and your home looking modern and sleek. 8. Fantastic FloorsPromise your floors some TLC! Sweep, mop, or vacuum as needed to ensure your floors remain spotless. Speaking of which... 9. Vacuum with easeAh, the pièce de résistance! Invest in a cordless powerful vacuum cleaner, your trusty sidekick in the quest for pristine floors. This way, cleaning becomes a delight rather than a chore. Say goodbye to pesky dust bunnies and hello to effortlessly clean floors! 10. Celebrate SuccessFinally, celebrate your accomplishments! Revel in the joy of a clean and fresh home. Reward yourself for sticking to your resolutions and maintaining a space that radiates positivity and comfort. Remember, these resolutions are not about perfection but about creating an environment that nurtures and uplifts you. So, gear up for a year of cleanliness and freshness. Cheers to a sparkling new year!

Nilfisk Christmas gift list
Christmas is on its way, and the list of gifts to buy for loved ones seems endless. But don’t worry! With our Christmas gift list, you will get all the inspiration you need to buy the perfect gift… Or to add to your own wish-list ;) S1 Vacuum Cleaner Pet Care The S1 Vacuum Cleaner Pet Care is the ideal choice for pet-loving homes! The vacuum cleaner is packed with features ensuring you a comfortable and effortless cleaning experience. Enjoy the ergonomic handle for a one or two-handed grip and the included wall mount for neat storage. The S1 also features a HEPA 14 filter which eliminates 99,99% of all airborne particles as well as a Pet Brush to help you clean your furry friends. With this vacuum cleaner, your home will look spotless in no time! Core 150 High Pressure Washer The Core 150 high pressure washer is the go-to solution for achieving a sparkling clean car and outdoor spaces in no time! This powerful machine delivers 150 bars of pressure, covering up to 40 m2 per hour. The best part? It is pre-assembled, so you can jump into your cleaning tasks right away! We have designed this machine with your convenience in mind. It features a foldable handle and double-lance holder, making it easy to store without hogging up your space. The machine comes with two different nozzles, a foam sprayer + a cleaning needle to tackle different cleaning jobs. With the Click&Clean connectivity, you can effortlessly pair it with a variety of our accessories. Experience a whole new level of cleanliness with this fantastic machine – it’s your shortcut to a pristine, spotless clean! Buy the high pressure washer here. Buddy II 12 Car Cleaner The Buddy II 12 Car Cleaner wet & dry vacuum is the ultimate, all-round cleaning solution for both indoors and outdoors cleaning tasks. This vacuum cleaner can vacuum liquids as solids and with the integrated blow-function it can help you clear away outdoor debris like dirt and leaves. But there is more! When you get the Buddy II 12 Car Cleaner, you will also receive a fantastic Premium Car Kit with four handy accessories to make car cleaning a breeze: The Turbo Nozzle is your secret weapon for deep clean on car mats. The Upholstery Nozzle is designed to tackle everyday grime on car seats. The Long Crevice Nozzle is your go-to tool for those hard-to-reach nooks, such as between car seats. Finally, the Soft Brush is ideal for gently cleaning dashboards and other delicate surfaces. Buy the wet & dry vacuum cleaner here. Patio Cleaner Enhance your outdoor cleaning experience with the Patio Cleaner, a fantastic addition to your Nilfisk high pressure washer. This handy accessory is a game-changer, as it can clean up to six times faster than a regular nozzle, ensuring your outdoor areas are sparkling clean in a flash. What's great is that it's versatile and can be used on various surfaces like wood, concrete, tiles, and bricks, all while making sure to get into every nook and cranny, even those tricky ridges and uneven spots. Plus, the tilting head design allows you to clean both vertically and horizontally with ease. With the Patio Cleaner, outdoor cleaning becomes a breeze, and your surfaces will look as good as new in no time! Car Shampoo Revive your car's shine with our Car Shampoo, perfect for use with any Nilfisk high-pressure washer featuring a foam sprayer. This water-based detergent is specially designed to deliver a 'Wax & Shine' effect while effectively tackling dirt, oil, and grease.Using it is a breeze! Just dilute the detergent with a 50% water solution in the foam sprayer, then spray it onto your car. You can wash your vehicle with a wash mitt, sponge, or brush, and finally, give it a gentle rinse using the Gentle-pressure nozzle. The result? Your car will look as good as new, shining with that 'just-waxed' finish!

5 things to consider when buying a vacuum cleaner
When it comes to maintaining a clean and healthy home, a good vacuum cleaner is an essential tool. However, with so many options available in the market, choosing the right vacuum cleaner can be a daunting task. Whether you're dealing with carpets, hardwood floors, or pet hair, here are five key factors to consider when buying a vacuum cleaner. Type of Vacuum Cleaner: There are several types of vacuum cleaners to choose from, each designed for specific cleaning needs. The most common types include, canister, stick, and robotic vacuums. Stick vacuums are lightweight and ideal for quick clean ups, while canister vacuums are more versatile and suitable for various surfaces. Consider your specific cleaning requirements to determine which type is best for you. Filtration System: A vacuum cleaner's filtration system is crucial for maintaining air quality in your home. High-efficiency particulate air (HEPA) filters are highly recommended as they can capture tiny particles like dust, pollen, and pet dander, making the air cleaner and healthier. Look for vacuum cleaners with HEPA filters or equivalent advanced filtration systems to improve your indoor air quality. Suction Power and Cleaning Performance: Suction power plays a significant role in a vacuum cleaner's cleaning performance. Opt for a vacuum with adjustable suction settings to tackle different surfaces effectively. Additionally, pay attention to features like brush roll options, which are essential for deep cleaning carpets, and attachments for cleaning hard-to-reach areas and upholstery. A vacuum cleaner with strong suction and versatile cleaning capabilities will ensure a thorough clean. Durability and Maintenance: A vacuum cleaner is an investment in the cleanliness of your home, so it's essential to choose one that is built to last. Look for models with durable construction and a reputation for reliability. Consider the availability of replacement parts and how easy it is to perform maintenance tasks like emptying the dustbin or changing filters. A vacuum cleaner that requires minimal maintenance will save you time and money in the long run. Noise Levels and Maneuverability: No one wants a vacuum cleaner that sounds like a jet engine taking off. Check the noise level of the vacuum cleaner you're considering, especially if you have family members or neighbours who are sensitive to loud noises. Additionally, assess the vacuum's manoeuvrability, including its weight, cord length, and swivel capabilities. A lightweight and agile vacuum cleaner will make the cleaning process more convenient and less physically taxing. Choosing the right vacuum cleaner involves considering your specific needs and preferences. By evaluating these factors you can make an informed decision and invest in a vacuum that keeps your home clean and healthy. With the right vacuum cleaner, maintaining a spotless living space becomes a much more manageable task.

What is a HEPA filter and why is it so important?
HEPA filters remove 99.9% of harmful particles in the air. Find out how they work and why they are so important. What is a HEPA filter and why is it so important? HEPA filter stands for high efficiency particulate air filter, which removes over 99.9% of airborne particles. This includes dust, dust mites, mould, pollen, bacteria and it can even remove COVID particles from the air. HEPA filters work by pushing air out through a fine mesh, which traps these harmful participles, stopping them from being released back into the atmosphere. Every household appliance which either absorbs or extracts air, needs to have a circulation system, and therefore, a filter. Air conditioning systems and hairdryers have them and of course, so do vacuum cleaners. HEPA filters in vacuum cleaners When we think about buying a new vacuum, we probably consider its suction ability, size, accessories, or flexibility. But how often do we think about the filter? Often not at all. We use vacuum cleaners to remove dirt and dust from indoors, which is why it’s vital that they have a decent filter in place. Otherwise, your vacuum will release those dirty particles right back into your home. After a period of time, the filter will also lose its strength and cease to block all the harmful bacteria getting back out into the air. This is why you must change the HEPA filter regularly, to ensure it works to its best ability. How often should you change your vacuum filter? So, how often should we change the HEPA filter in our vacuum cleaners? It really depends on the amount of use it gets, but for an average household vacuuming 1-3 times per week, the ideal frequency to change your filter is once per year. Don’t worry if you have never changed the filter before, many people are not even aware of the filter let alone how often it needs changing. However, the filter is very important and replacing it will help to purify the air in your home. If anyone in your household happens to suffer from allergies, especially dust, animal fur or pollen, we recommend changing it every 6-12 months, or whenever you notice increased allergy breakouts.